pendant holding


After you wrap the thing you like and wanna make it to be a pendant, this step is an easy way use only square knot for making a holding.

Step 1


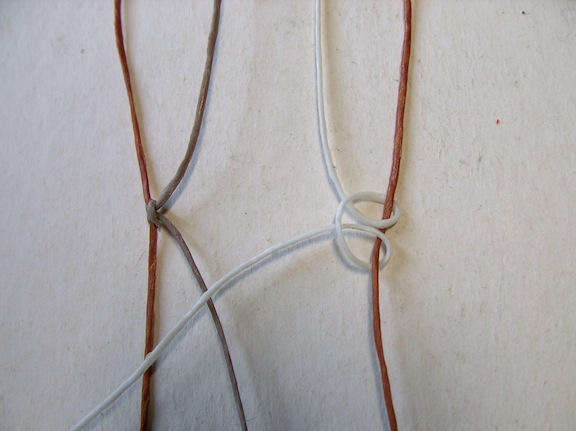
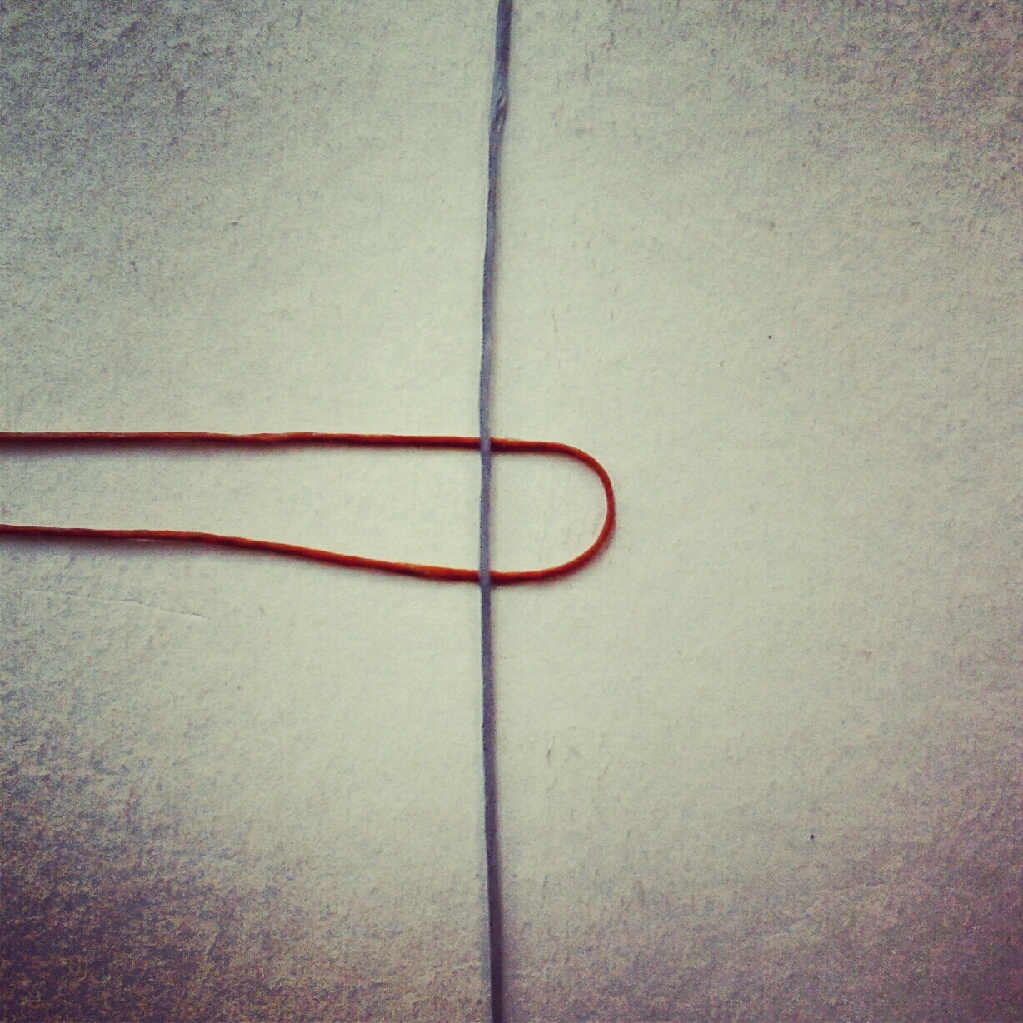
  • Separate 3 kind of cord , two is for working cord (pink) and the rest is for fillers(blue)
  • Use the left working cord and curve it over both filler cords, heading right.
  • Direct the right working cord over the left. Pass it under the two filler cords and out through the space on the left.
  • You just completed the first half of the Square Knot, which is sometimes called a "Half Knot".

Step 2 
  • Tighten the first half of the knot. Next, take the working cord that's now on the right and curve it over the fillers, heading left.
  • Take the left working cord and pass it over the right one, under the fillers, and out through the space on the right. Tighen the Square Knot by pulling on the ends.
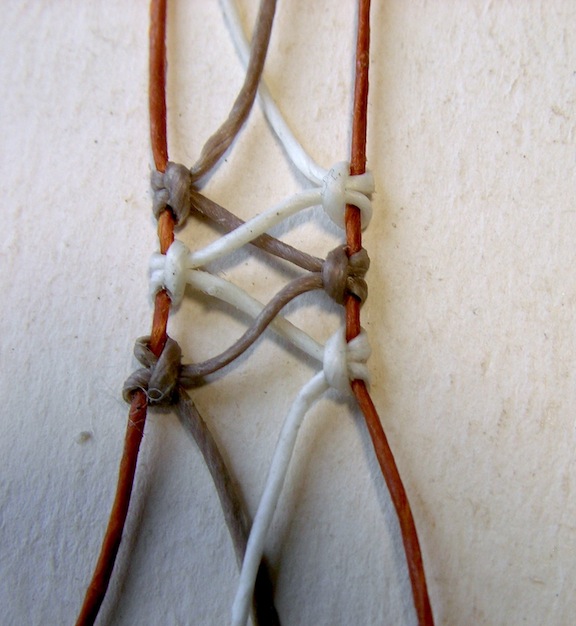

Step 3 


  • Repeat this same process of Square knot over and over. Push up on the knots as you progress. 


Step 4
  • Fold your working  and check that the length  is enough for your prefer hole size.

Step 5  

  • Continuing the square knot around the folding area, 
  • Repeat this same process of Square knot over and over ( it should take around 3-5 square knots)

 Step 6


  •   Cut the working cord, and finishing the end by applying glue to the knots before you do so,
  • But if you use waxed cord like me you just need to burn the end.


Macrame wrapping : Lace style


This is one of the popular technic to wrap anything by doing macrame knot, After you finish the wrapping, you can make the end to be pendant or necklace, So  you need how long you want to make BEFORE you get started.

The knot in this wrapping is called Larks head.


Materials : You can use any material that suit your design, hemp, cotton and waxed cord is a good choice too.

picture 1
  • 1  No holed object in round shape (Stone, Gemstone, coin, ceramic, bead, etc.) : diameter around 2.5cm.(1 inch)
  • 4  Cords ( waxed cord no.3 /1 mm. thick) which are;
2 working cords : measure the perimeter of the things you wanna wrap, it should be more than 12 times of the perimeter.
2 holding cords: should be longer enough for your purpose, if you wanna make it a pendant it should be around in this picture, or you can leave more longer for making necklace.

tips* you can uncut the 2 connecting holding cord  for make it hang for easy working.


Instructions:  

Step 1


  •  Arrange the two holding cord s vertically, place them wider than the depth of the stone, and Secure the top of holding cord by sticking the tape on your project board, or hang it with your  feet finger
Step 2
  • Start the first knot at start point (picture 1).The first  of the Vertical Larks Head is tied by folding the working cord and place it under the holding cord.
Step 3


  • Bring both ends over the holding cords, heading downward.Pass them under the folded area, pulling them firmly.
  • Both steps equal one Vertical Larks Head knot.
Step 4  


  • Use the other working cord to make a Larks Head knot onto the right holding cord.
  • The first half is tied over - under - over. the second tie is  under - over - under.
  • Cross the working cords again, right over left.

Step 5

  •  Repeat knotting both working cord with the same crossing pattern,
  • Make sure you always cross the cords before you tie the two knots. It's best to cross right over left each time, but not absolutely necessary. 


Step6

  • After you tie a few more knots, check to see that the knots are the appropriate width for the stone or coin.the entire knot should be a little bit smaller to hold the stone firmly.
  • The ends will be tied together at the top of the stone, so make sure the knotted design is balanced before you move on to the next step.


Step7 

  • Locate the ends of one HOLDING cord. Tie the ends together with a Square Knot (no fillers). Make sure you pull them firmly.
  • Flip the  stone over, and repeat this process with the ends of the second holding cord.


Once the Pendant  is completed, the ends are used to make the hole for pendant or necklace itself. See more here how to make an  pendant holding.


Or if you want to close all the cords for making a extended part such as a bracelet or necklace you can follow up this instructions;


How to close the wrapping work

This technic is about bringing all cords to the back side of your work, Then cut and burn it on the same spot. So you cannot see the burnt spot on the front of your work.

Step 1
  • Work on the front side. Tie the end of holding cord(white) together with a Square Knot (no fillers). Make sure you pull them firmly.
  • Then Tie the same square knot on the working cord which ended on front side too.
  • Cut and burn the rest on the cord
Step 2
  • Flip the  stone over, brings 2 holding cord on the front side to the back side, thread one cord around the knot on the back side 
  • Then Tie the  square knot on the back side, Cut and burn it on same spot.

Step 3
  • Repeat the step 2 but work with the rest of 2 working cord, when bringing them to the back side, make then like a cross pattern.


Note: If you use another material such as cotton thread or hemp, Before you decide to cut off any of the ends, make sure you cut the working cords, and apply glue to the knots before you do so.


macrame wrapping technique -EASY- stone wrapping


This kind of  wrapping technique  is suitable for a round or flat things,

One of the eco friendly way to make a pendant from everything around you.
Choose the robe and grap some round thing and then Let's go! 


** I usually use waxed cord becuase you can made the rest of the cord disappeared ea
sily, by burning it!**

1.  Cut 2 main holding cords , it should be long enough for your purpose


2.  Cut the working cord, the length should be more than 10 times to a perimeter of your stone


3. Measure the width of 2 holding cords before starting the knots.


4. Measure  the start point on holding cord by comparing the stone perimeter and the holding cord, it should be arounf the point in the picture. 


5. Fold working cord (one side short  and one side long for working) and place it under the holding cords at start point.
6. Bring both ends over the holding cords, heading downward.
Pass them under the folded area, pulling them firmly


7. Then Pass the working cord over the holding cord, and then under it.
8. Pass the working cord under the holding cord, and then over it again.   You will see the knot called Larks Head Knot

9. Continue the same knot -- left then right-- continue this method until  the length of your wrapping  cover the stone's perimeter.


10. When the wrapping  is long enough, ( it should be shorter that perimeter a bit for making it tight) Tie the finish knot firmly both front and back side. 


                    Finish!  

Basic Macrame Knots

This is  3  basic macrame knot that I usually make  jewelry and stone wrapping, I learn to do these basic knot both from my experiences, from my friend sharing and on the website.It's easy and can be adapt to fit many patterns.

The problem that you will face when you start learning to knot is "will it be under or over next" or " will it be left or right". No worries, Just practice it again and  again with the same pattern  and you will find your own way to remember and become more familiar with. 
For example, when I make the knot I always start with left side, and over before under.
After you learn and practice these basic knots , you will understand the patterns in my other projects.
1. Half Hitch Knot
You need two cords to practice the Half Hitch knot. Secure them to your working surface so they are vertical.The cord on the right will hold the knots. In the images, that's the grey strand. The brown strand will be the working cord

a Half Hitch is tied by passing the working cord over, and then under, the holding cord. Make sure it passes over the working cord as you bring it to the right.
*** The knot can be made both left or right side of the working cord***

Half Hitch Spiral
Just Repeat this same process of Half Hitch knot over and over. 
Push up on the knots as you progress, so they are close together.

2. Lark Head/ Cow Hitch  knot

You can use one or more holding cords (grey strand)depend on how big the knot you like , then secured to your board horizontally.
 There are 2 way to make this knot.

First way: is for starting the first knot

 1:  Fold working cord ( brown strand) and place it  under the holding cords. The fold should be at the bottom and the ends at the top.
2: Bring both ends over the holding cords, heading downward.Pass them under the folded area, pulling them firmly.

Second way: The working cord (brown strand) will usually be longer than the one holding the knots. This way is for making Continueing Larks head knot
1. begin with the same method of  Half Hitch knot : 
passing  the working cord over, and then under, the holding cord. Make sure it passes over the working cord as you bring it to the right.
2. passing  the working cord under, and then over, the holding cord. Make sure it passes under the working cord as you bring it to the right.

Repeat this same process of Larks head knot over and over. Push up on the knots as you progress, so they are close together


3. Square knot
1. secure 3 cords to a project board or table surface. In the images, the working cords are brown, and the grey cords are the fillers.  In Macrame patterns they are usually tied with more than two cords of filler.
Use the left working cord and curve it over both filler cords, heading right.
Direct the right working cord over the left. Pass it under the two filler cords and out through the space on the left.

You just completed the first half of the Square Knot, which is sometimes called a "Half Knot".


2. Tighten the first half of the knot. Next, take the working cord that's now on the right and curve it over the fillers, heading left.
Take the left working cord and pass it over the right one, under the fillers, and out through the space on the right. Tighten the Square Knot by pulling on the ends.
Repeat this same process of Square knot over and over. Push up on the knots as you progress,